Materials
- Pine corner moulding
- Polycarbonate sheeting, 3 mm thick
- Epoxy glue
- Acrylic paint
Last year, I made a seed propagator in the shape of a miniature greenhouse. It’s about 40 x 20 x 30 cm (L x W x H) in size and perfectly fits two trays of seedlings.
I started off cutting up my polycarbonate sheet. Polycarbonate is a great alternative to glass because it’s completely see-through and relatively easy to cut… if you have a jigsaw. I didn’t, so I cut all the pieces with a tiny, inadequate handsaw. I assure you that the following picture was taken early on in the process, I did not look this happy 2 hours later:

The next step was cutting up the wood. I used corner moulding which is essentially rod of pine wood with a 90deg angle. Using this wood I was able to make the frame
The whole thing was bonded together using lots and lots of epoxy glue. The epoxy bonds on polycarbonate very well, in fact I had to be very careful not to spill any on other parts of the sheets because I would not be able to get it off easily and cleanly. Epoxy dissolves in acetone, but so does polycarbonate.
Finally, I painted the wood and sealed it using a diluted epoxy mixture (epoxy + acetone). The greenhouse is in two pieces so that I can access the plants from the top:
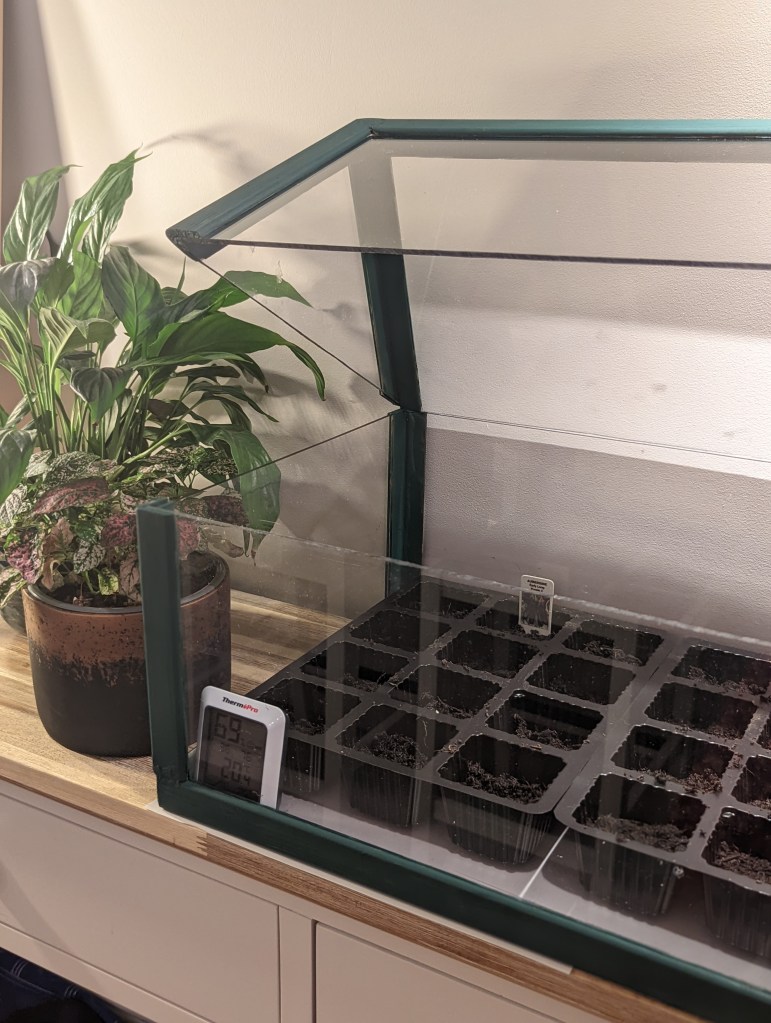
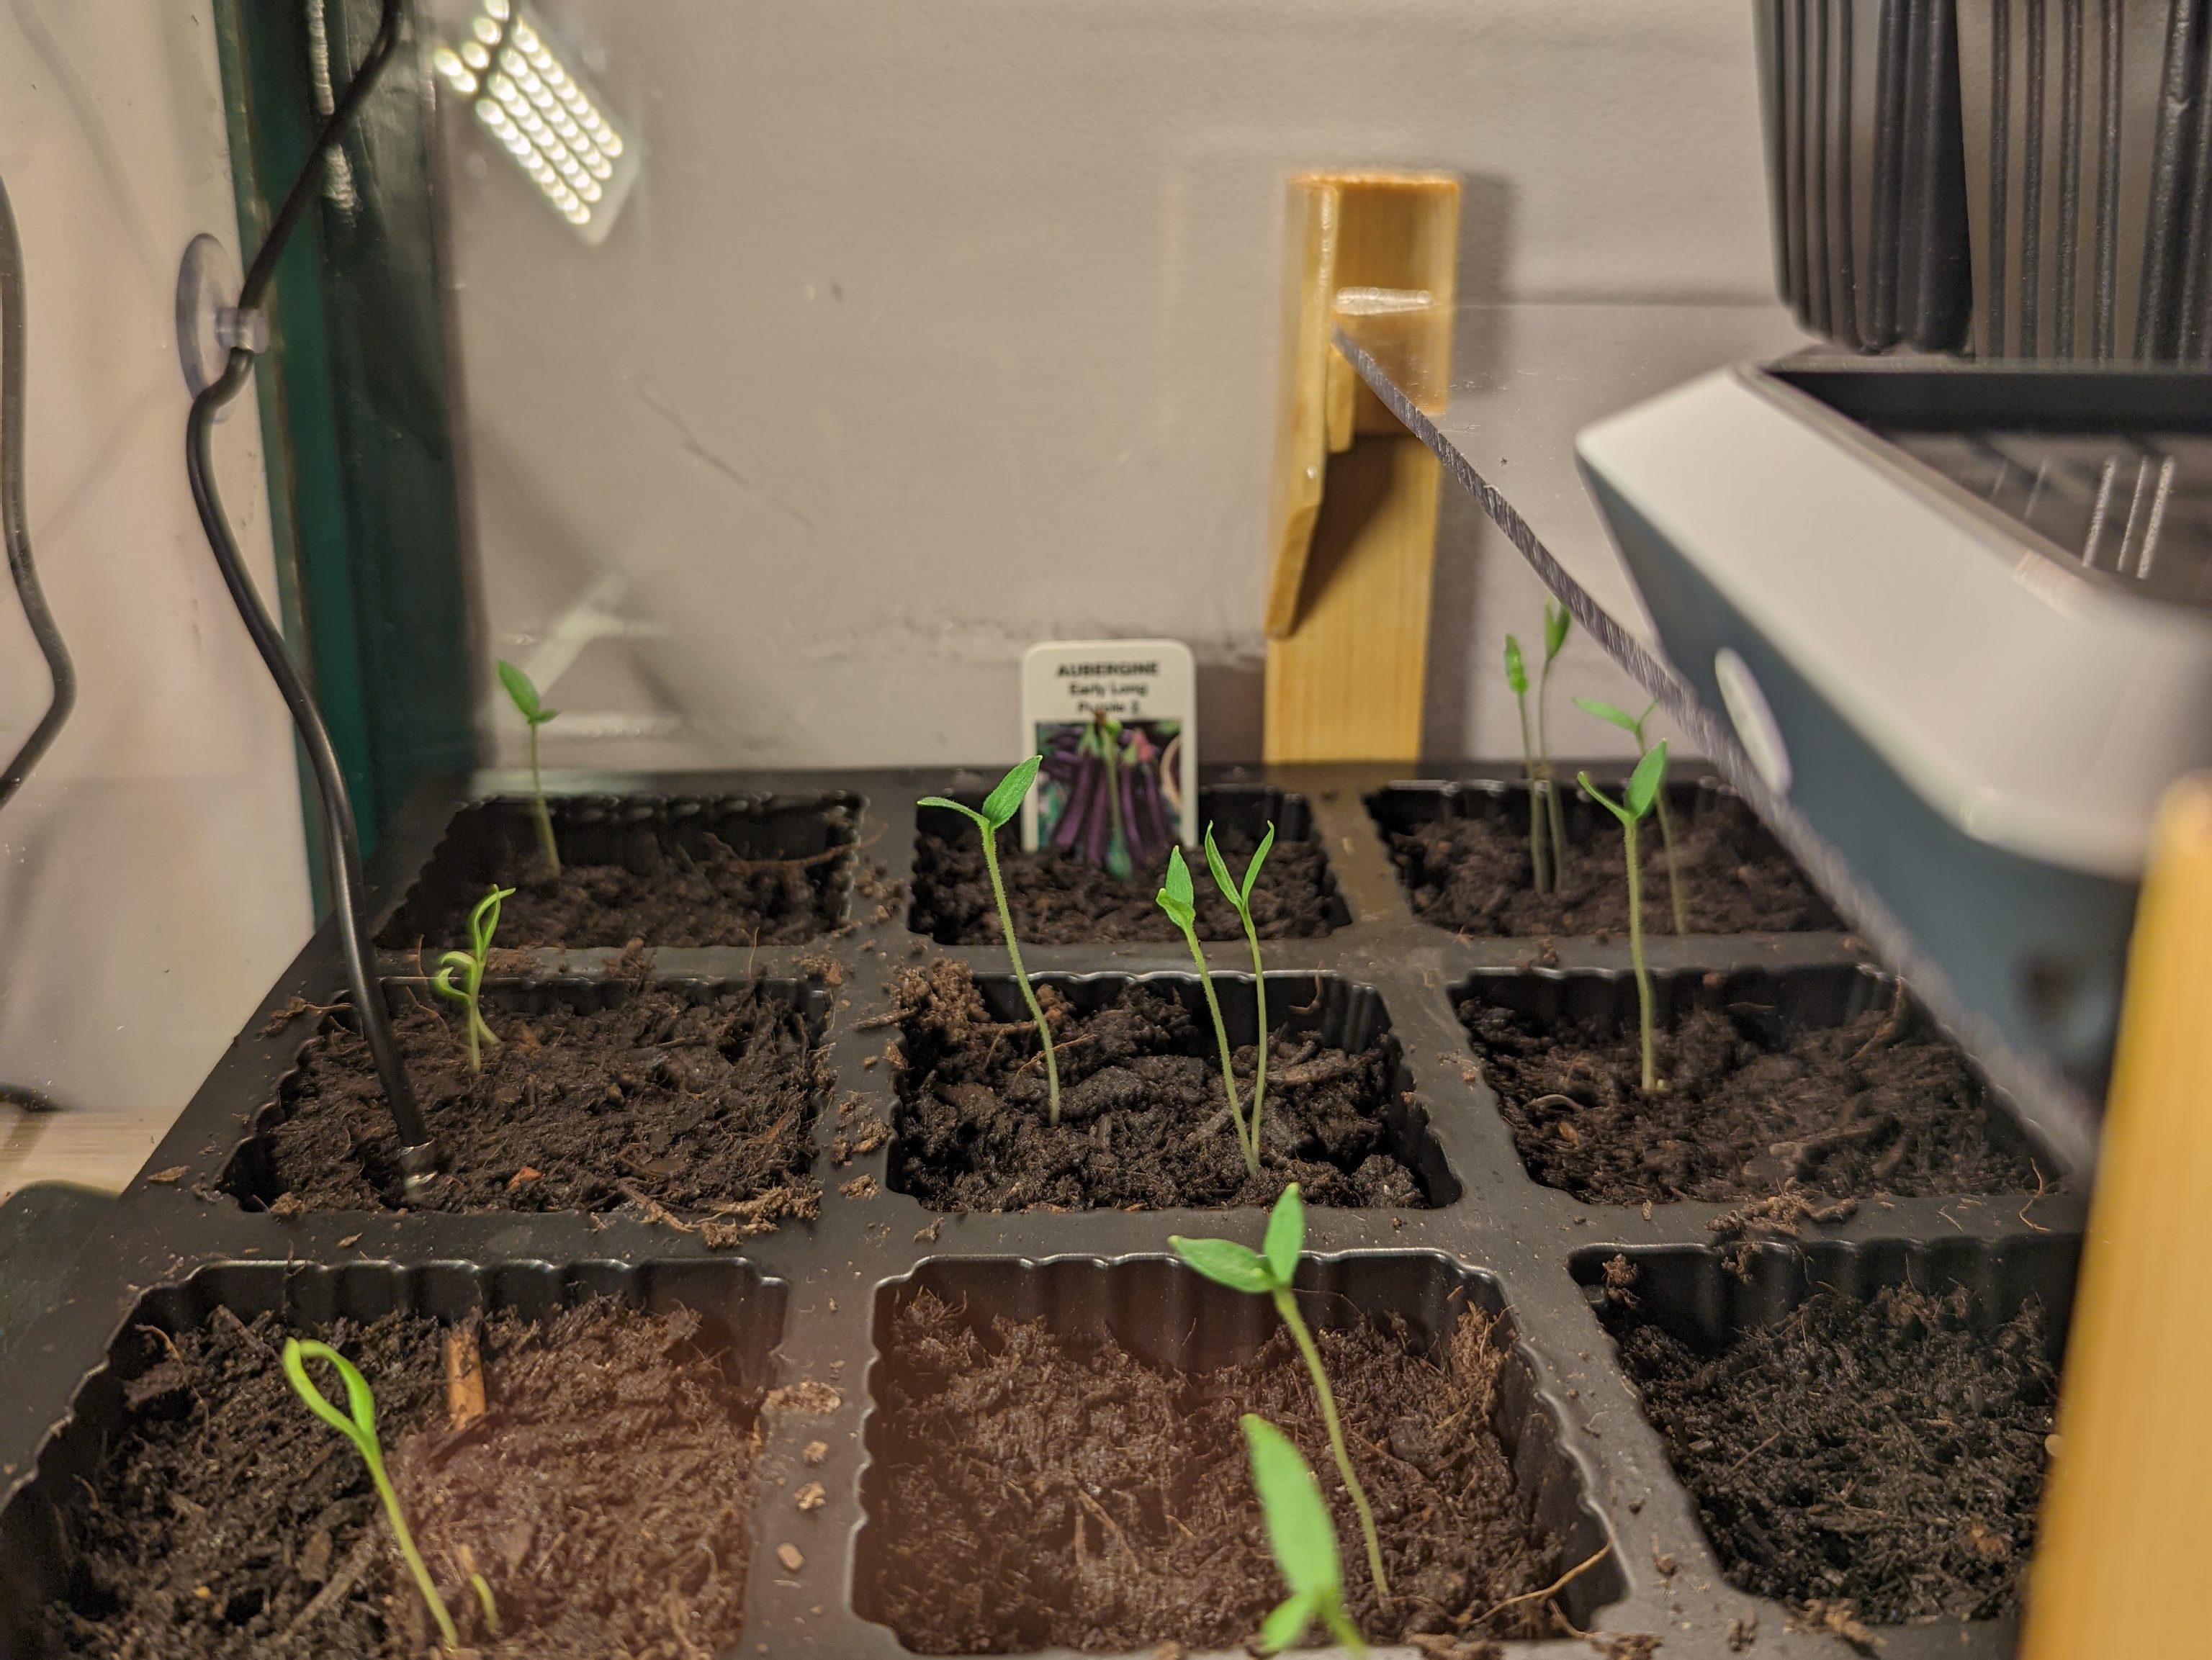
To make my seeds extra happy, I added a heated mat under the greenhouse that kept the soil at a constant temperature. I also had an LED growth light that turned on every day for 3 hours for some extra light.
And about a month later I started seeing my first little seedlings pop up!

Leave a comment