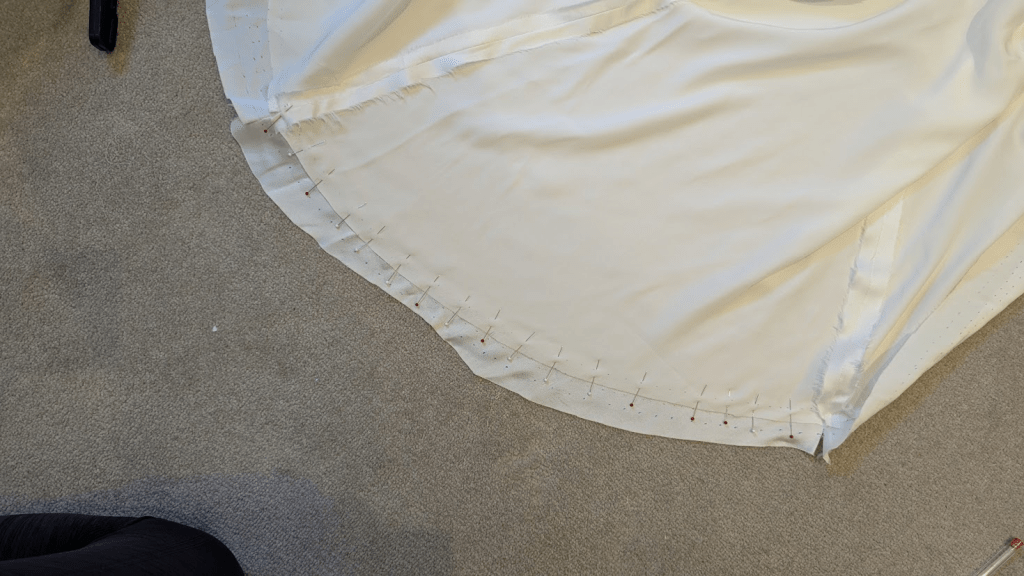
Hemming

Every sewing project of mine seems to get stuck in hemming pergatory, and my wedding dress was no exception.
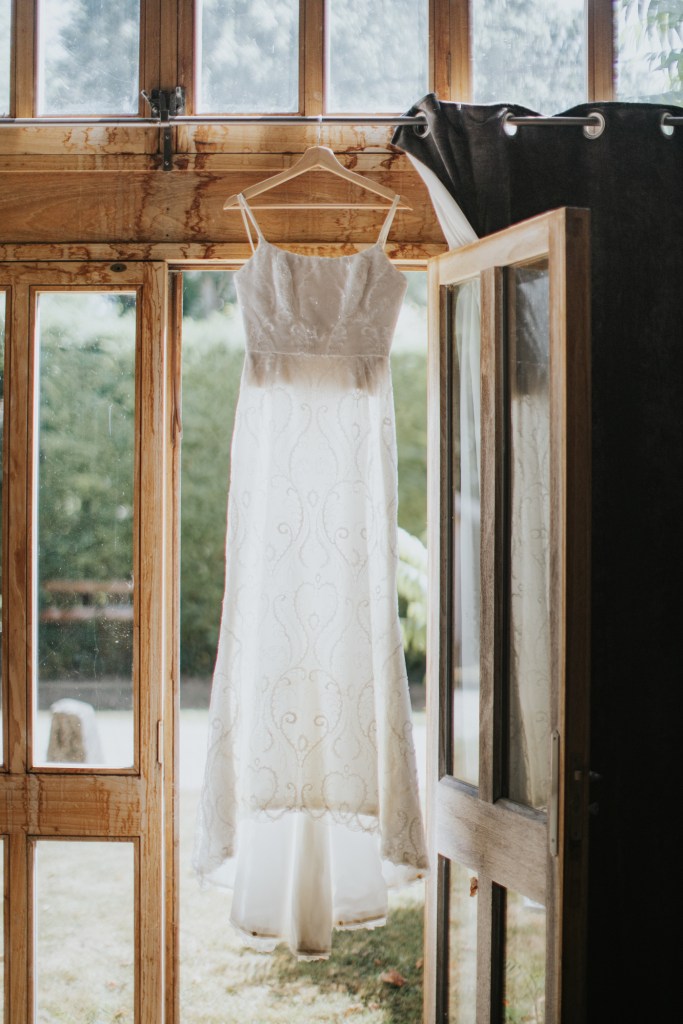
The lace layer of the skirt was hemmed using the edges of the lace as trim. My lace had a beautiful edge and it was great to use up the scraps of it. With the satin layers, I tried a new technique of using horsehair braid for hemming. I read that it gives better stability to the train so I tried a 1 inch braid to start. I had mixed results, which I thought was due to not distributing the ease of the horsehair evenly around the curve. I tried a narrower horsehair which worked better, however I really didn’t like how the stiff horsehair interacted with my very delicate silk.
I tried the horsehair 3 times so I feel like I gave it a proper go..! Eventually I came to the conclusion that the two materials were too different, which made the stiff hem looked like it was pulling the drapey skirt too much. With a more structured skirt fabric, I can imagine this hemming technique working quite well. However for my dress I decided I simply sewed the skirt and lining right-sides-together and tacked the lace layer to the seam allowances. I’m very happy with the way it turned out and having a soft hem gave me more bustling options too.
Finishing touches
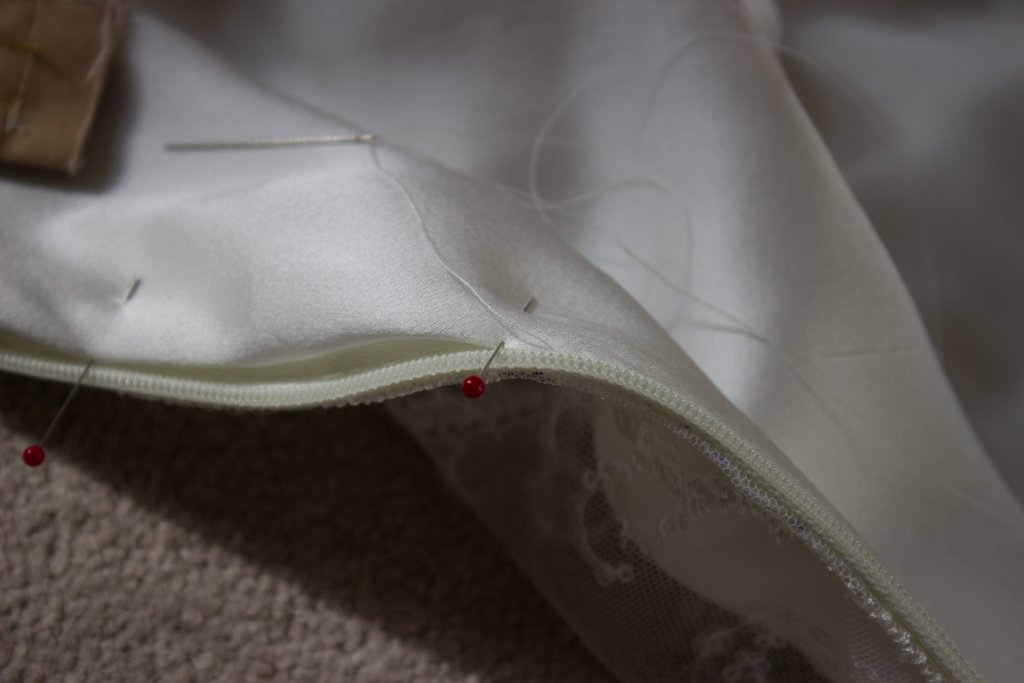
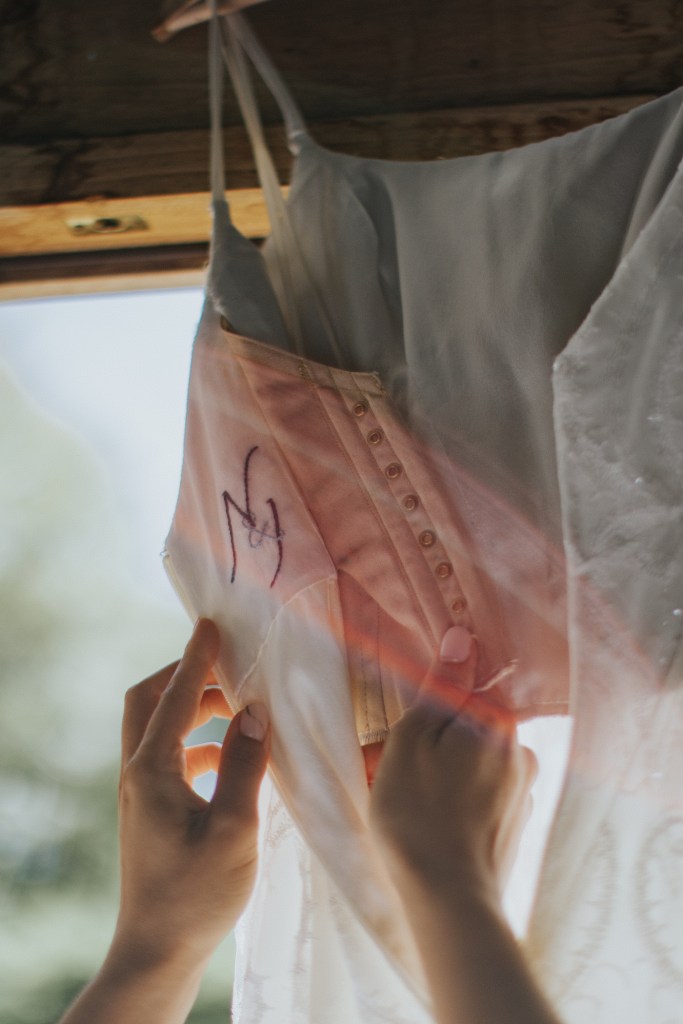
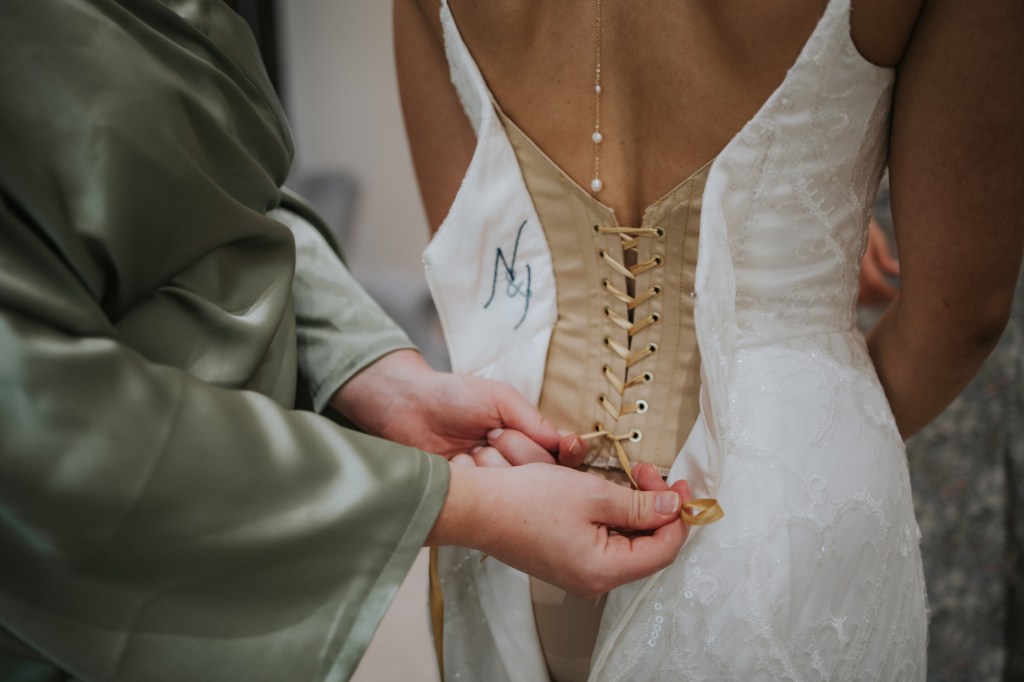
I attached the back zip by hand, which gave me much better control. Susan Khalje’s method works a treat.
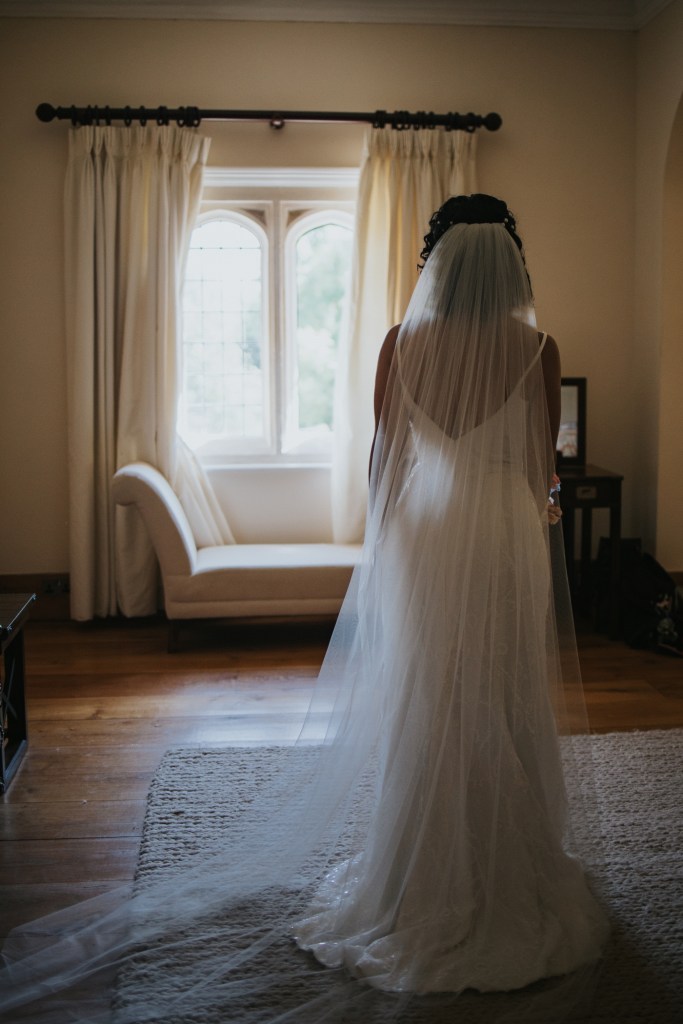
Then finally, the last part of the dress was the bustle. To be honest, there are not that many bustles – especially on fit & flare styles – that I like. I used my toile to try different bustle types and also considered a wrist loop, which would have been the easiest one to sew. Keeping in mind that I wanted as few dance-restrictions as possible though, I settled on doing a “ballroom bustle” or “underbustle”. This is where you bustle the train under the skirt so that it doesn’t look like it was there at all!
I found the bustle points by starting at the centre seam, pinning it up until it was even with the sides of the skirt. Then I did the same for the other two back seams, and picked up points in between the seams until the bustle was even and rounded. I sewed the bustle points by hand, using a ribbon-tie attachment on the seams and snap fasteners between the seams. This took quite a long time but the more bustle points you have, the better the bustle looks and the less weight each point has to carry.
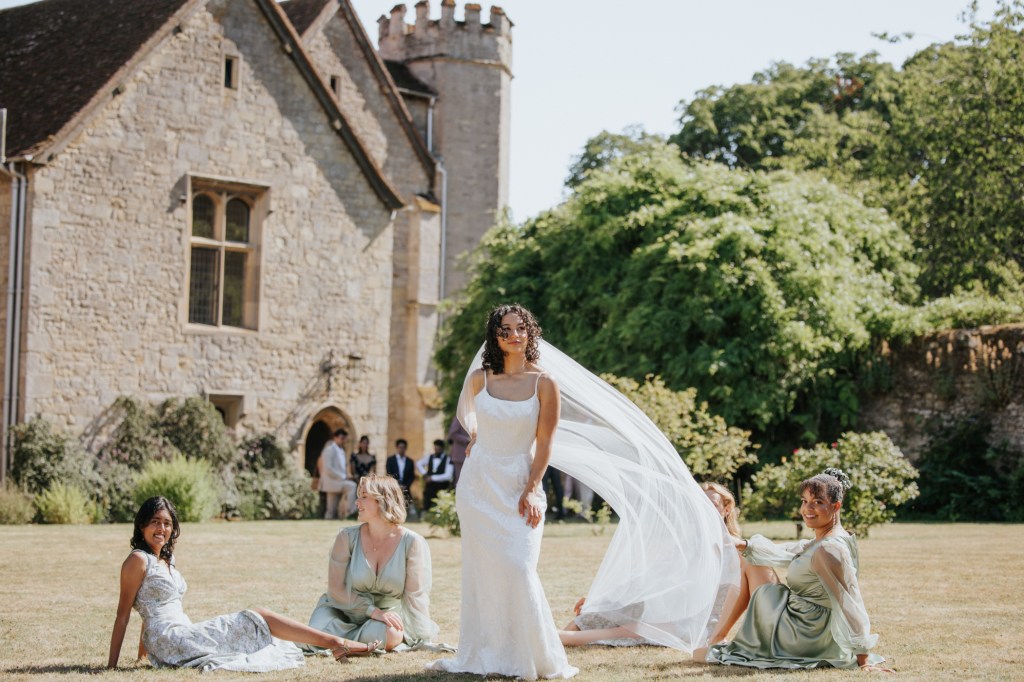
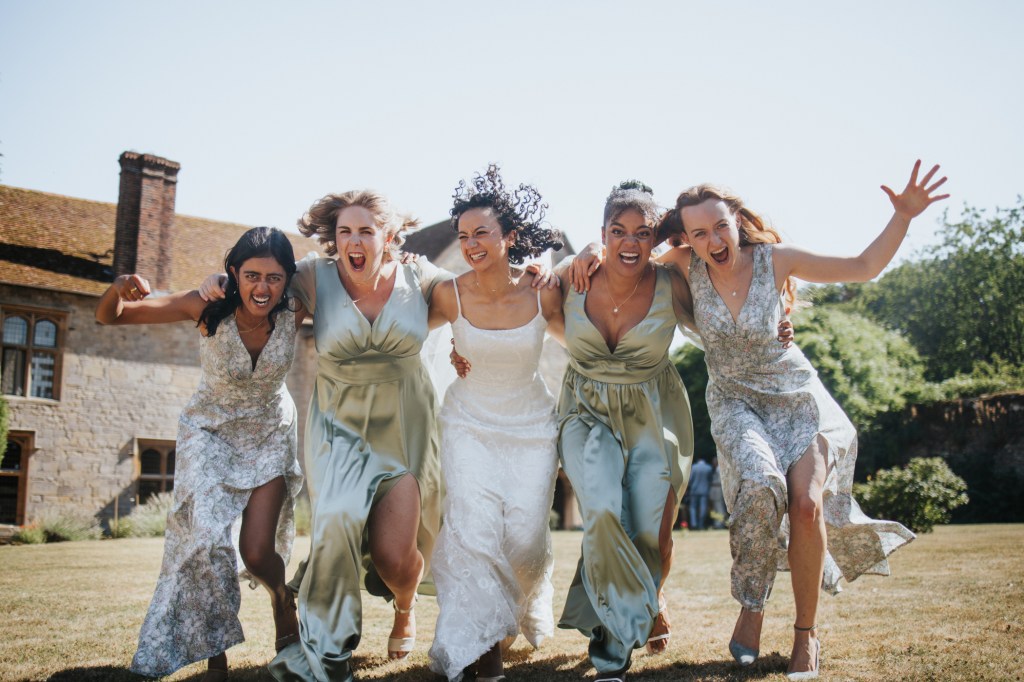
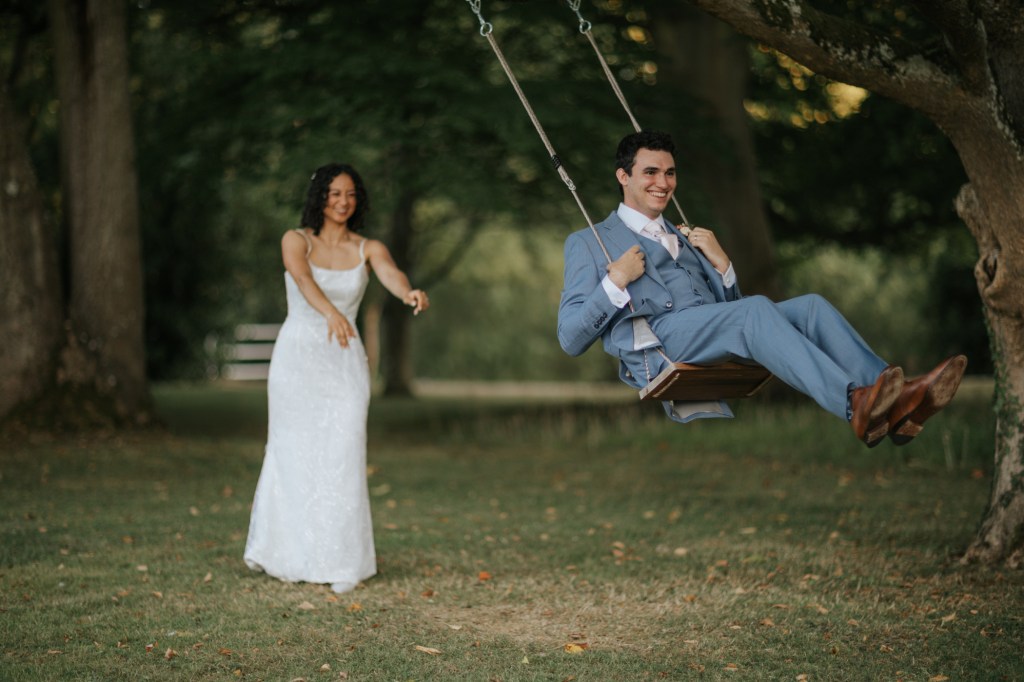
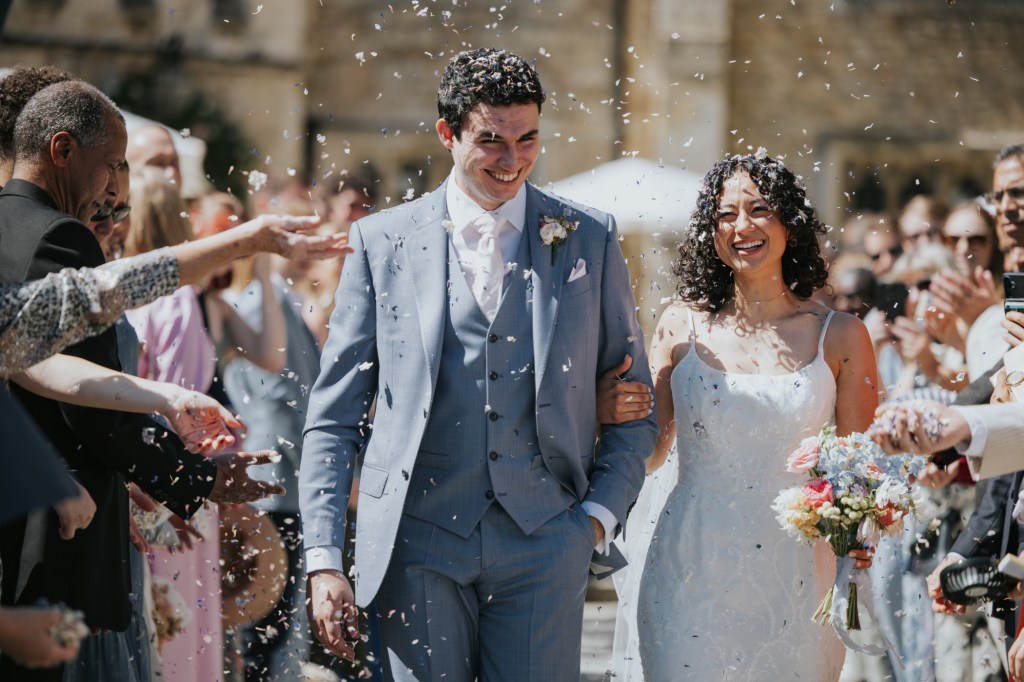
The Wedding Day
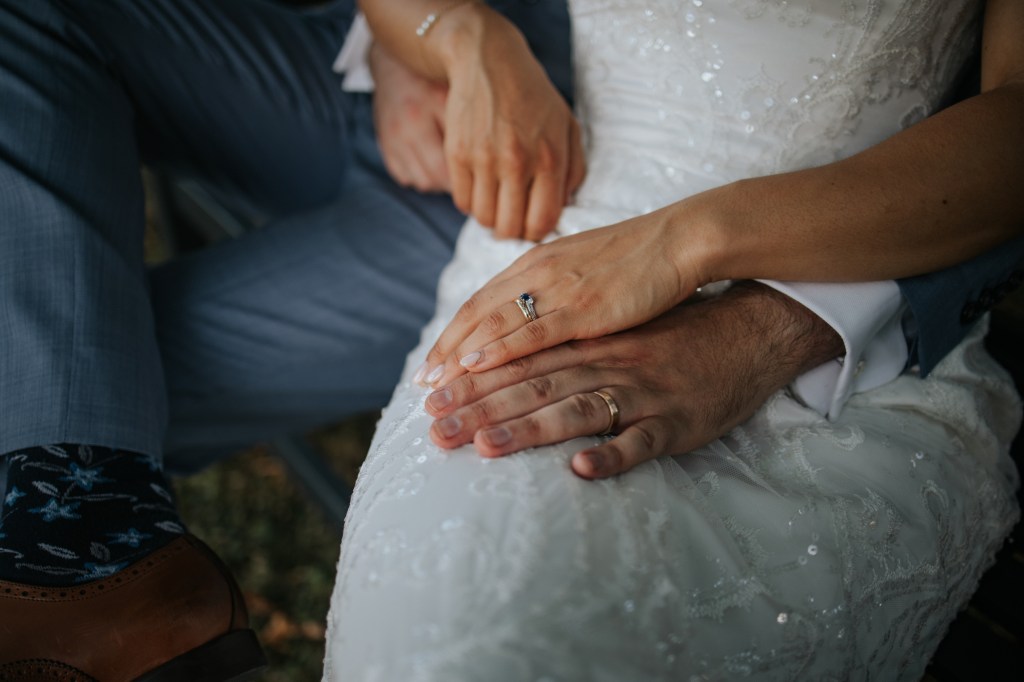
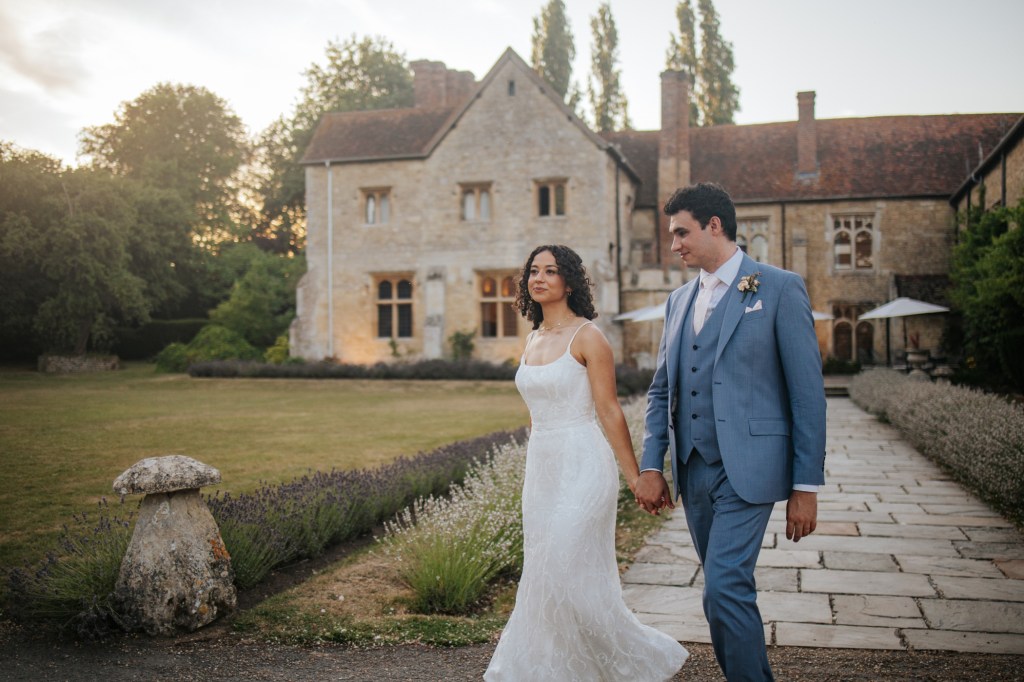
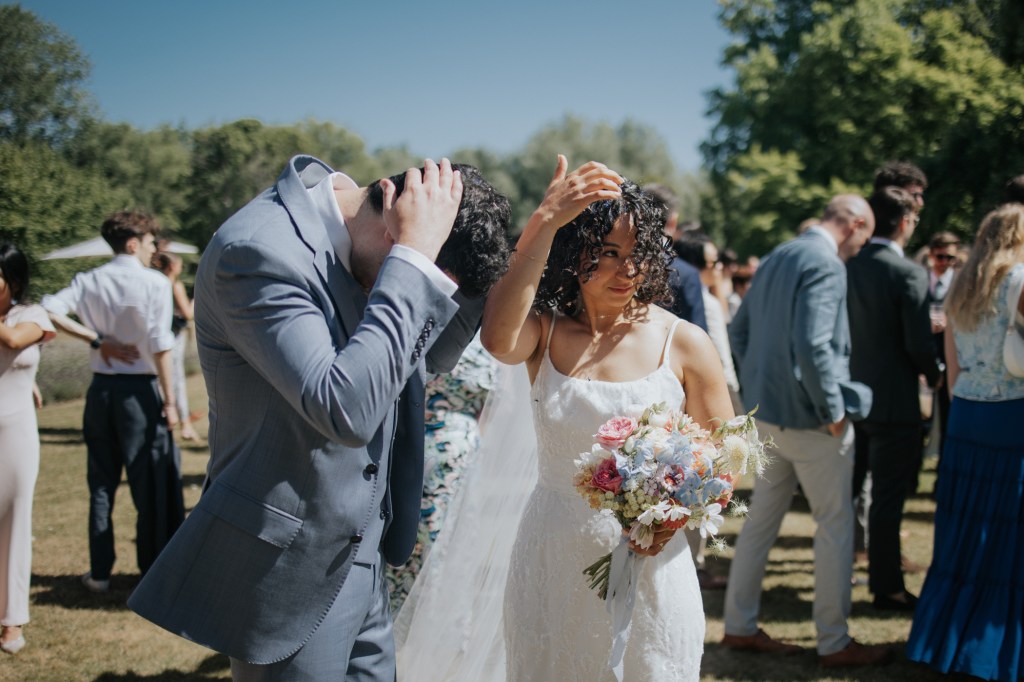
On our wedding day, I arrived at the venue with carefully carrying my dress from the car. I remember someone from the venue asking me why I was carrying my own dress – but after 138 hours of constructions, there was no way I was letter go of it!! Here are some of my favourite photos of the day and the dress, taken by our amazing photographer Monika (MT Studios):


Leave a comment