
It’s been a while – maybe 15 years – since I got my hands stuck in the mud and god it feels good to be back.
My lovely friend Ella almost single-handedly inspired me. I just couldn’t get enough of seeing what she made on Instagram, especially her before-and-afters showing the magic (and mystery) of glaze chemistry. Then I binged a season of The Great Pottery Throwdown and almost immediately booked myself onto a clay course.
The course was a 5-week introduction to ceramics at The Clay Garden, including hand-building, throwing, trimming, and glazing.
Hand-building espresso mugs
We started with pinch pots, a technique that is easy to start with yet difficult to master. It wasn’t the only hand-building method we learned, but I actually just enjoyed pinching. It was a calming practise and it allowed me to get a good feeling for the clay.
I decided to make espresso mugs using a Kurinoki carving technique. I made a small pinch pot of 4-5 mm thick, and once it was leather-hard I carved an angular texture on the outside with a knife. I love how the sharp angles catch the light and nearly make the pot look like chiselled stone.
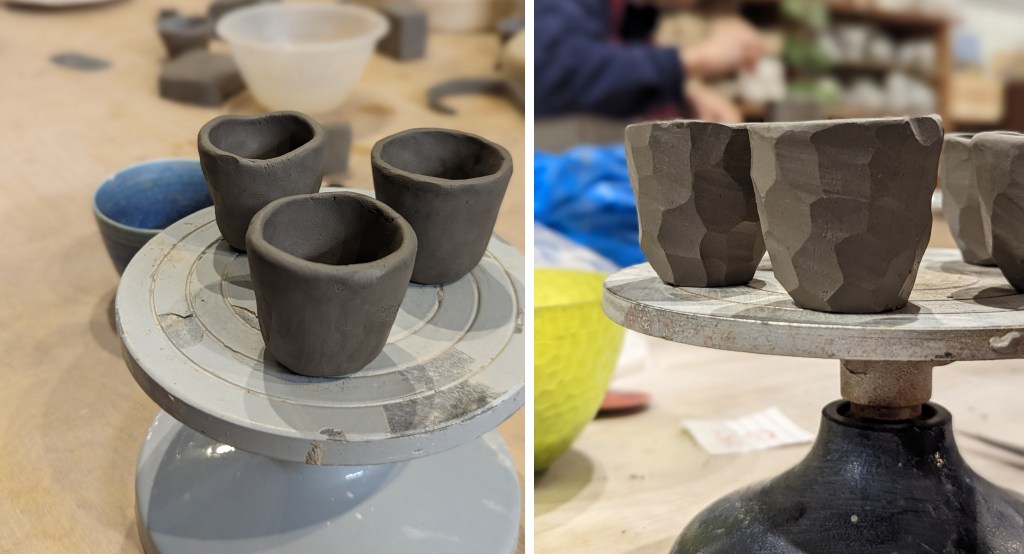
The hardness of the clay played a big role in how effectively I could carve it. Too soft and the clay would deform instead of leaving a sharp angle. Too hard and you could end up ripping a chunk of clay off instead of cutting through.
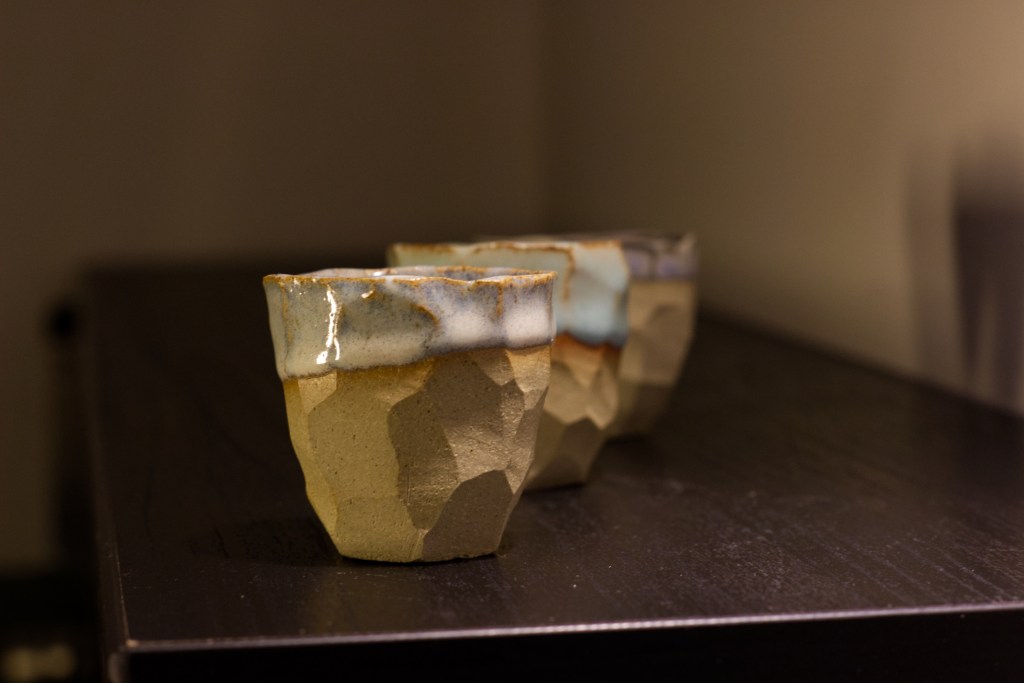
I glazed the espresso mugs leaving plenty of beautiful, exposed clay underneath (inspired by a photo on Pinterest). In the end they ended up too small even for espressos, but I love these little pots. Maybe I’ll turn them into tea lights one day…
Throwing, trimming & glaze magic
As a kid, I honestly had no interest in the wheel. But this time I think it’s hooked me. We had one session on throwing and one session on trimming. My first few pots were quite literally a flop, but I had so much fun!!
Our teacher, Emilia, was great. At some point I was getting a bit too obsessed with getting the first step of the process right – centering the clay. But Emilia encouraged us to go through the whole process which allowed me to finish some pots and it meant I stopped trying to make everything perfect. Too often I let perfect be the enemy of good…
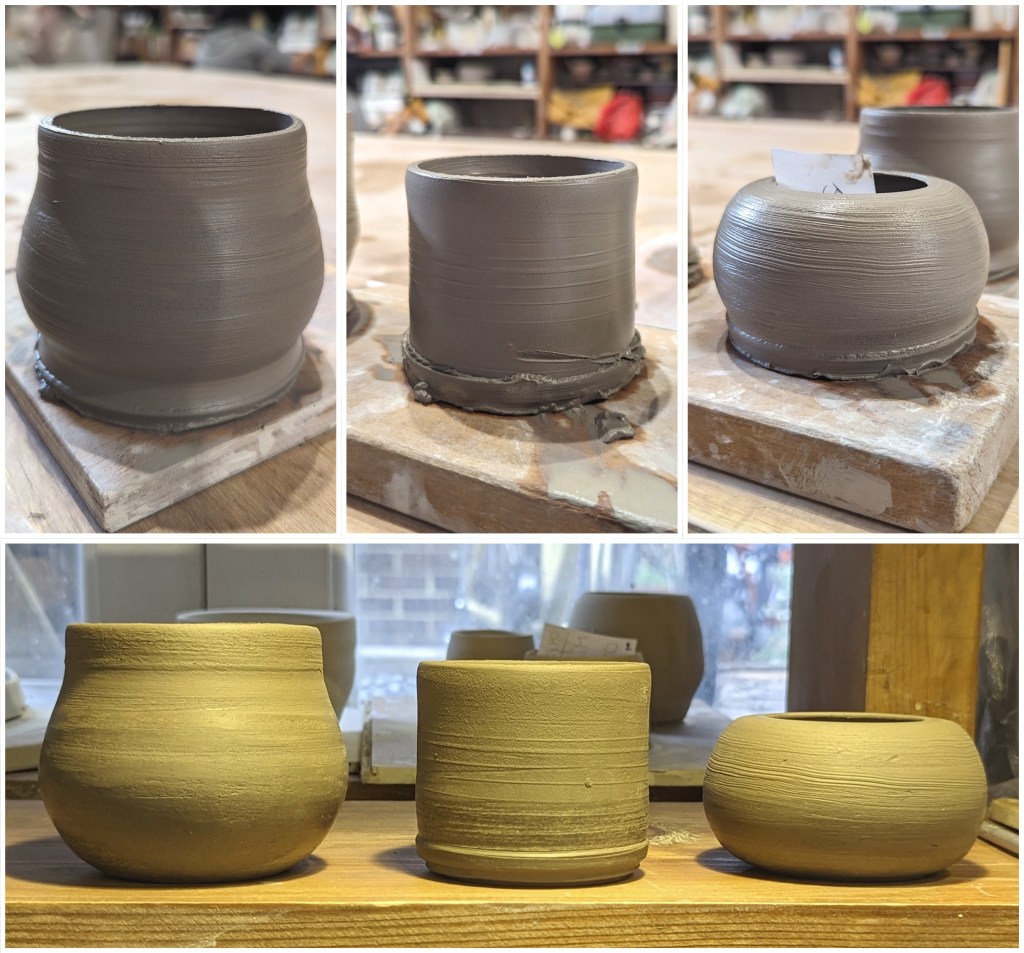
I think that trimming was where the real magic happened and it was the most satisfying part of the process (before-and-afters pictured below). I got a lovely round finish on two of my pots and carved some steps in the bottom of my straight-edged pot. Next time I would also like to add some handles.
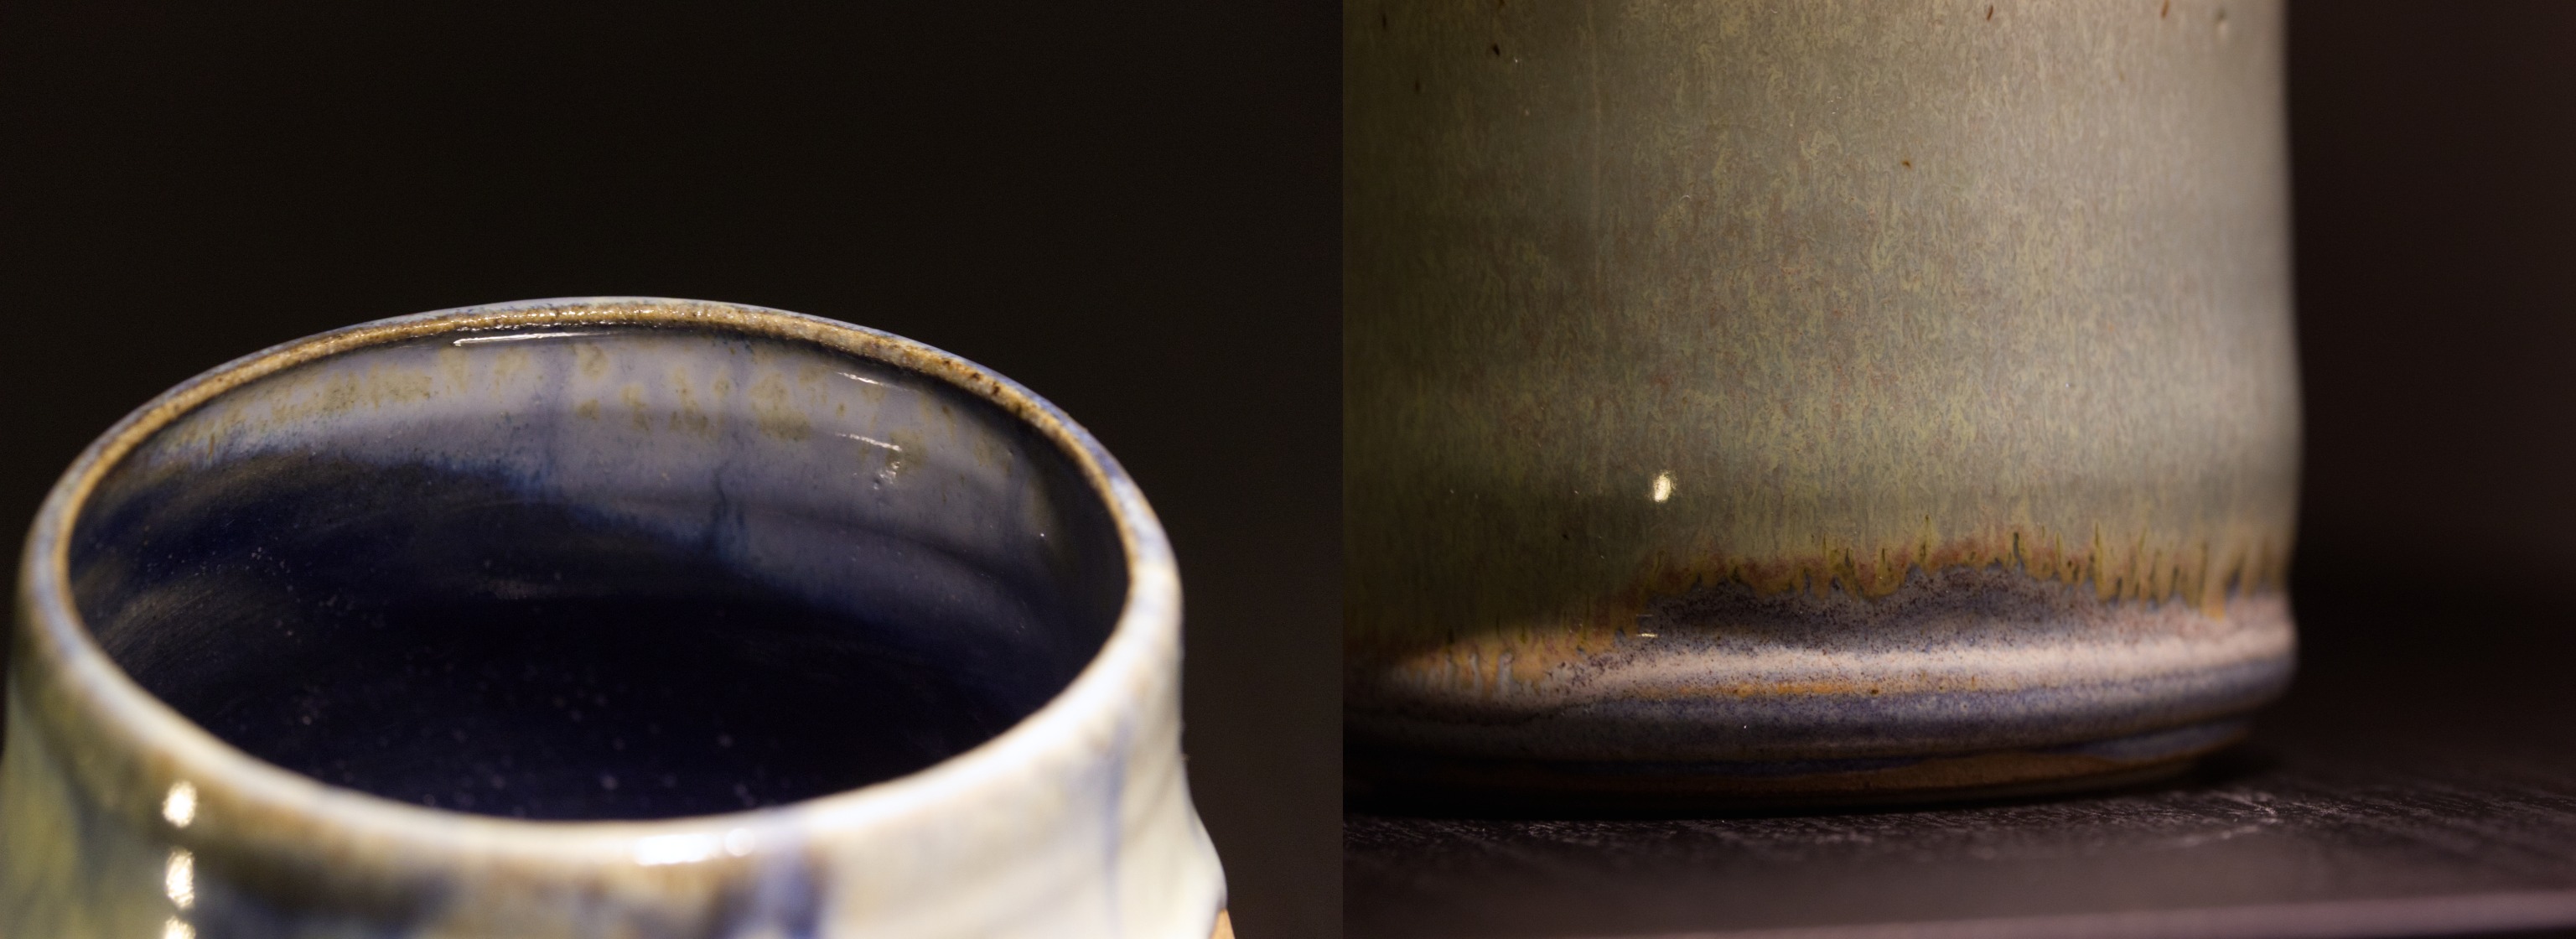
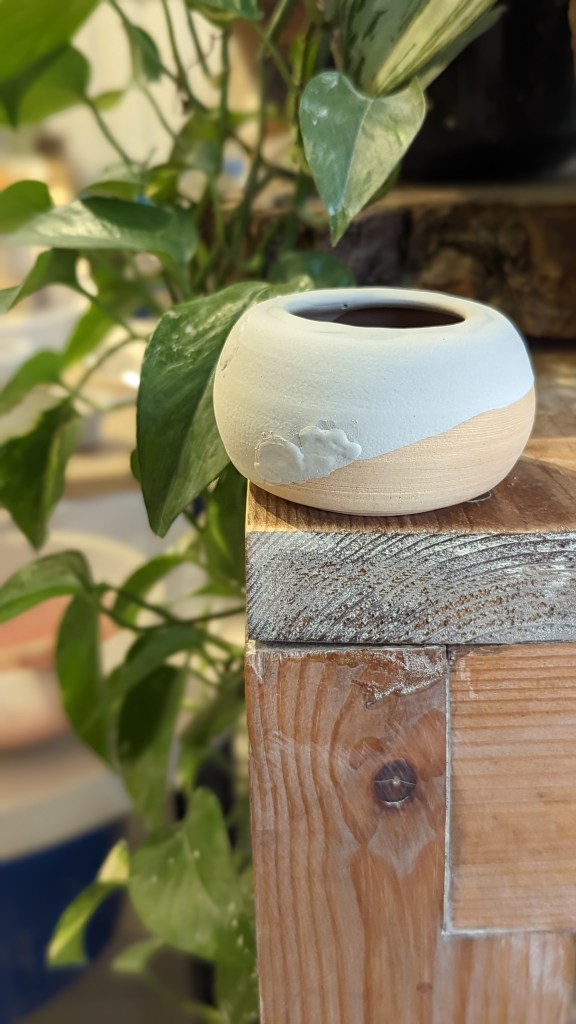
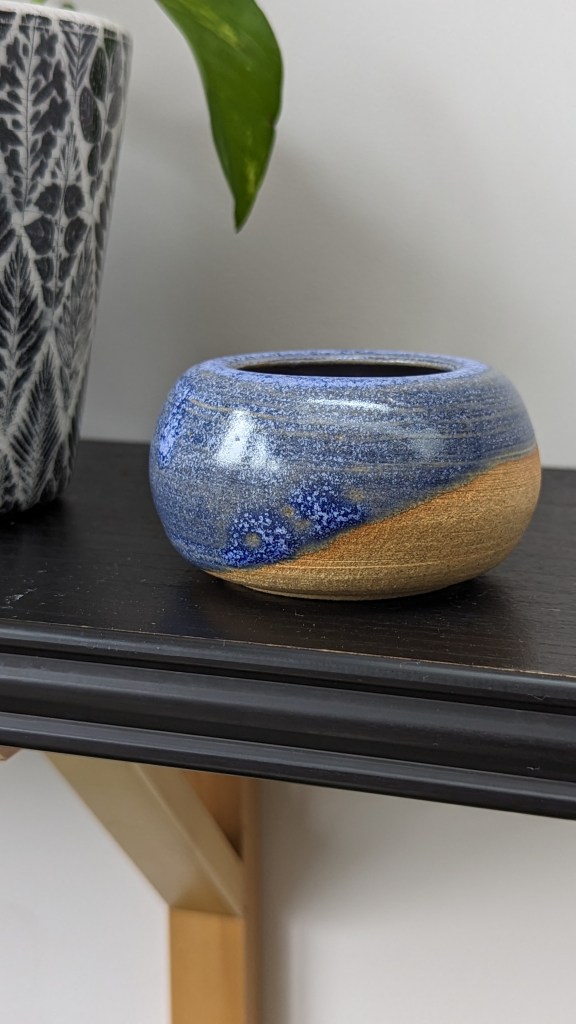
The last session was glazing and here I’ve got to give full credit to The Clay Garden’s glaze recipes. I have no idea how this stuff works and reacts the way it does, but I got some wild results of glazes interacting:
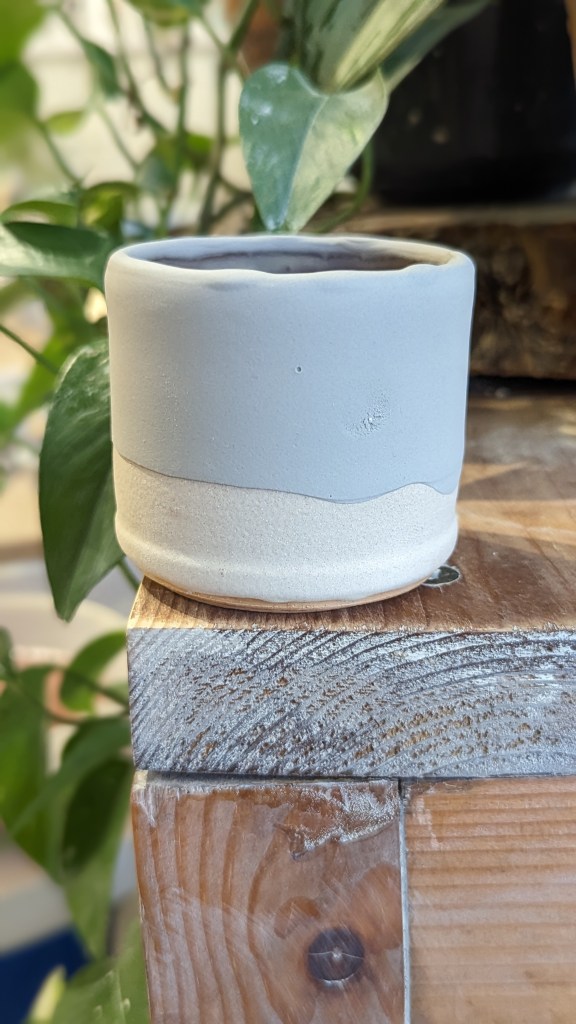
Final results
Here are some photos of my finalised pots. I’m so chuffed with them and ready to go back to make more!!


Leave a comment