Having finished the corselette, the next step was the construction of the silk satin layers. I decided to pre-wash my satin so that I didn’t have to worry about affecting it with pressing or steam. Washing the silk by hand with a baby laundry detergent and cool water was the most gentle way to handle the fabric. I found that the fabric did lose a little bit of its sheen but there was no way I was risking shrinkage later on!
The outer bodice was underlined with silk organza as this gives stability without adding much weight. I hand-basted the two layers by hand, which also prevented them from stretching out later.
At this point I thankfully knew my pattern pieces very well because despite the bodice underlining, the fabric was still very slinky. Hand-basting every seam is – in my opinion – obligatory here as it doesn’t just stop the pieces from moving but also prevents them stretching on the seams. Trust me, I tried to take a short cut with a seam on the lining and it did not work out.

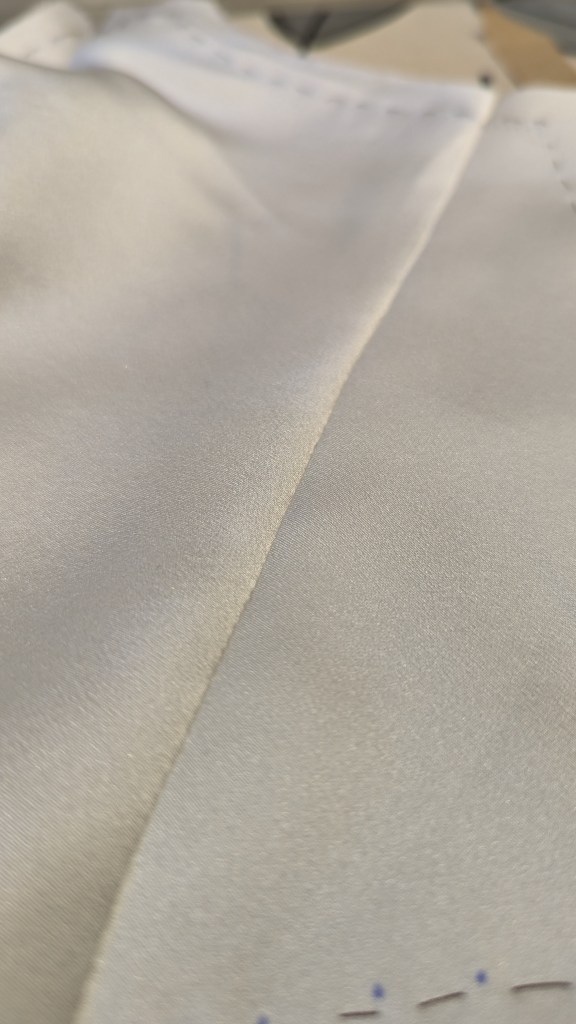
Once the seams were sewn, I trimmed and clipped seam allowances shallow and often as needed. A couture tip from Susan Khalje is to clip the outer and underlining fabrics in different locations because this evens out any bulk. Each seam was carefully pressed with a tailor’s ham and pressing cloth, first on the wrong side and then on the right side. Another tip – put some paper under the opened seam allowance when pressing on the right side because it prevents the seam allowance from shining through after pressing.
To make sure the seam allowances stayed flat, I secured them by hand-stitching to the underlining only.
All of these little techniques contributed to making the outer bodice layer the most beautiful thing I have ever sewn. No pucker in sight! Because the process is so slow, you’re no longer rushing to the finish line and enjoying seeing things slowly and perfectly slot into place. It was some of the most satisfying and enjoyable work I did.
Sewing the skirt
The skirt was made up of two identical layers of silk satin. I thread-traced the top of the skirt pieces, then hand-basted each seam before sewing. The front part of the skirt also had two curved darts. During the toile phase I developed a technique of hand-basting these using a ladder stitch. First I marked each side of the dart in 5 mm increments, then used a ladder stitch to baste the dart together. It made for a really clean finish that in all honestly you couldn’t see underneath the lace, but I knew it was there.
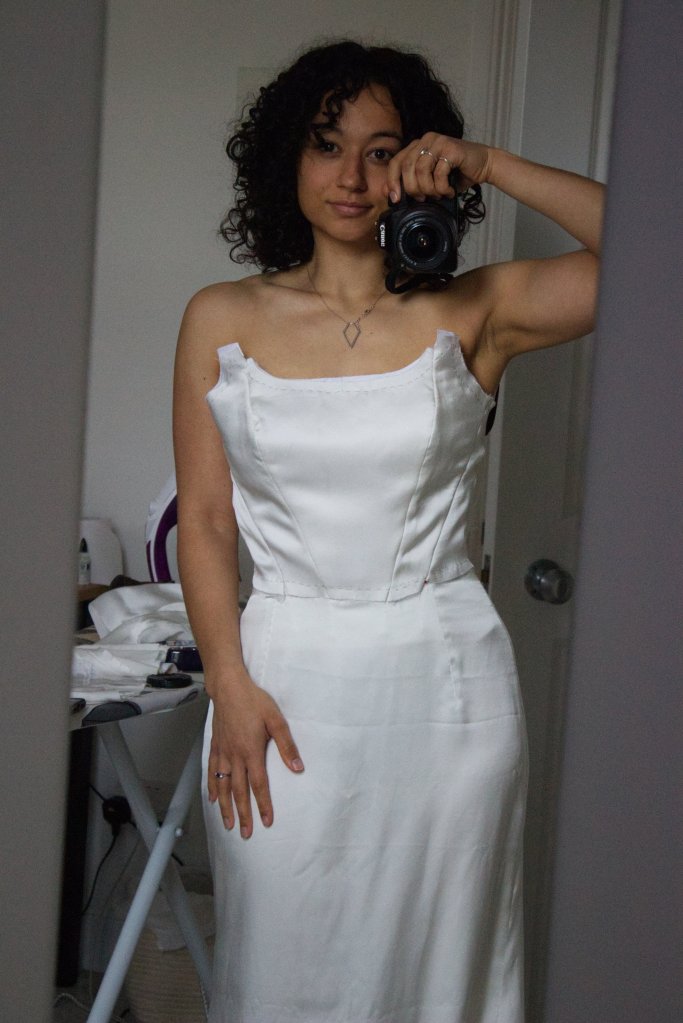
At the end of my satin work I had two skirt layers, an outer bodice layer and a lining for the corset. At this point I could pin it together and get a first glimpse of the dress.

Leave a comment